Picture this. You’re expecting a significant snowstorm in the next couple of days. You know you’ll be stuck inside, so now is the time to make some plans. After shopping for extra groceries and filling the gas tank, you begin thinking about how you’re going to stay occupied for this period.
You decide to snuggle by the fire and reread a book from your high school lit class. It will be interesting to gain a new perspective – if you can find the book.
You search through your bookcases, your attic, and your basement. After many hours with no luck, you make a disappointing second choice in reading material.
If only you had put your older books in self storage. At Trusted Self Storage they would have been safe and protected in climate-controlled self storage. With proper packing and easy access, it would have taken only a few minutes to find your chosen book. With our wide range of sizes, it’s a breeze to find space for any size book collection.

The Importance of Protecting Your Books in Self Storage
When it comes to book storage, protecting them from damage should be your top priority. Books are not just objects; they hold sentimental value, intellectual knowledge, and sometimes even financial worth. Whether you have rare first editions, signed copies, or simply stories you love, take the necessary steps to safeguard them.
One of the main reasons to use self storage for your books is to protect them from potential damage. Storing books in your basement, attic, or garage can expose them to moisture, pests, and extreme temperatures.
Self storage units, on the other hand, provide a controlled environment that minimizes these risks. By keeping your books in a climate-controlled space, you can prevent mold, mildew, fading, and other forms of damage.
Additionally, reputable self storage units offer enhanced security measures. Surveillance cameras, contactless access codes, and on-site staff protect against theft and vandalism. You can have peace of mind knowing that your belongings are in safe hands.
Choosing the Right Facility for Your Books
Choosing the right storage facility is crucial to ensure the safety of your collection. Here are some factors to consider when selecting a storage unit.
1 Size: Assess the size of your collection and choose a unit with enough space to accommodate your books comfortably. Avoid overcrowding as it can lead to damage and make accessing your books difficult.
2 Climate Control: This is a must. Opt for a storage unit with climate control features. Books are sensitive to temperature and humidity fluctuations. Climate control helps maintain a stable environment, preventing mold, warping, and yellowing of pages.
3 Security: Look for a storage facility with robust security measures. This includes surveillance cameras, secure access systems, and well-trained staff.
4 Location: Consider the location of the storage facility. If you plan on accessing your books frequently, choose a facility that is conveniently located.
Packing and Organizing Your Books
Proper packing and organization are key to preserving the condition of your books while they are in self storage.
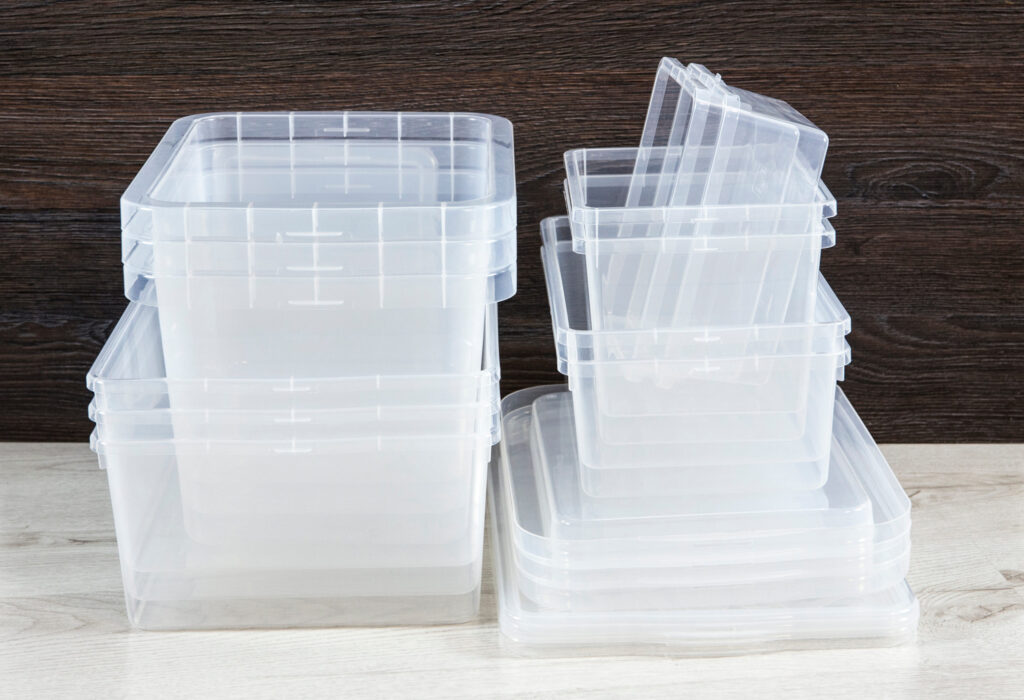
1 Use sturdy, acid-free boxes: Avoid using cardboard boxes. They can deteriorate over time, making your books vulnerable to damage. Opt for sturdy, acid-free boxes that provide better protection against moisture and pests. You can find these boxes at bookstores and online retailers.
2 Wrap individual books: For added protection, wrap each book in acid-free tissue paper or use archival-quality plastic sleeves. This will prevent dust, moisture, and scratches.
3 Pack books vertically: Store books upright, as they would be on a bookshelf. This will prevent warping of covers. Avoid stacking books flat as this can damage the spines.
4 Fill empty spaces: Fill any gaps in the boxes with packing material, such as bubble wrap or crumpled paper, to prevent books from shifting during transport and storage. This will also provide extra cushioning.
Shelving and Stacking Techniques to Preserve Your Collection
Once your books are packed and ready for storage, it’s important to use proper stacking techniques to prevent damage.
1 Use sturdy bookshelves: Invest in sturdy bookshelves made of solid wood or metal. Unstable bookshelves that can sag under the weight of your books.
2 Avoid overcrowding shelves: Leave some breathing room between containers to prevent them from getting squeezed or damaged. Overcrowding can also make it difficult to access your books.
3 Support large or heavy books: Large or heavy books should be placed horizontally in boxes. This will prevent them from sagging or damaging the spines of the books beneath them.
4 Stack books properly: If you need to stack books on top of each other, stack them in small, manageable piles.
5 Place fragile books on top: If you have fragile or valuable books, it’s best to store them on the top shelf or in a separate box.
Summary
Your books are more than just objects, they are gateways to knowledge, imagination, and memories. Take the necessary steps to protect and preserve them, so they can continue to bring joy for years to come. With self storage, you can have peace of mind knowing that your beloved literary treasures are safe and sound.